
How to Wire 8 Solar Panels in Series Parallel for Your Power Needs
The standard way to wire eight solar panels in series parallel is 4S2P: connect four panels in series to form a string, then connect two of those strings in parallel. Series wiring adds voltage, and parallel wiring adds current, so you get a higher-voltage, higher-current array that suits most home and small business inverters and charge controllers. Plan on a few hours and basic electrical comfort, and keep a licensed electrician on call for the final connection.
Here’s a clearly labeled sample. Say each panel is rated 40 volts and 10 amps (sample values only, so check your own panel labels). Four in series gives 160 volts at 10 amps. Two strings in parallel keeps 160 volts and doubles the current to 20 amps. That’s 3,200 watts of rated capacity, before real-world losses from heat, shading, and wiring.
Before you wire anything, two questions matter. Will eight panels cover your actual energy use? And can your equipment handle the voltage and current the array produces? Your utility bill tells you the first answer in kilowatt-hours. Your inverter or charge controller manual tells you the second.
We’ll cover both here, along with the tools you’ll need, safety stop points, the wiring steps in order, and how to verify the result. Whenever possible, we point readers toward American-made panels and components, and we explain every term as we go, because understanding your own system is the best way to keep it running well for decades.
Start With Your Power Needs: Measuring What Your 8-Panel Array Must Deliver
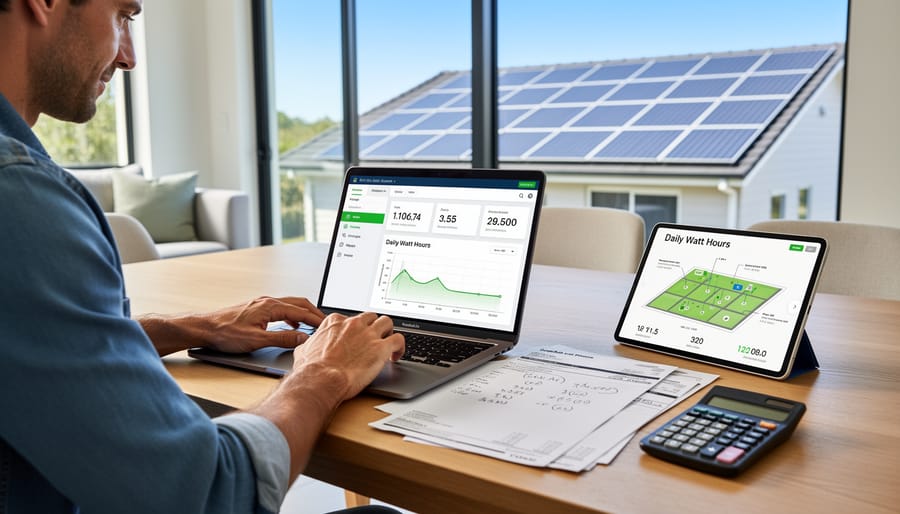
Finding Your Daily Energy Use
Start with the numbers you already have. Your electric bill is the easiest source for a whole home or business. Look for the kilowatt-hours (kWh) used in the billing period, divide by the number of days, and you have your average daily use. One kWh equals 1,000 watt-hours (Wh), so 900 kWh in a 30-day month works out to 30 kWh, or 30,000 Wh, per day.
For a cabin, RV, or shed, you’ll build the total yourself. Check the label on each appliance for its wattage, then multiply by the hours you run it each day. A 60-watt fan running 5 hours uses 300 Wh. A plug-in power meter makes this easier, since it reads real consumption directly from the outlet.
Add up every device to get your daily watt-hours. That total is the target your array has to meet, and it’s the number we’ll use to judge what 8 panels can realistically deliver.
Turning Watt-Hours Into Panel Output
Once you know your daily watt-hours, the next step is figuring out what eight panels can actually deliver. The math is simple: multiply panel wattage by peak sun hours, then subtract a loss allowance.
Peak sun hours measure how many hours per day the sun delivers full-strength energy, not total daylight. North Carolina typically sees around 4 to 5 peak sun hours, though this varies by season and location. Wiring and inverter losses, heat, dust, and shading mean you won’t get every watt on the label, so a common planning allowance is about 20 to 25 percent.
Here’s a labeled sample example (swap in your own numbers):
1. Panel wattage: 400 W x 8 panels = 3,200 W total.
2. Multiply by 4.5 peak sun hours: 3,200 x 4.5 = 14,400 Wh per day.
3. Apply a 25 percent loss: 14,400 x 0.75 = 10,800 Wh, or about 10.8 kWh per day.
Compare that 10.8 kWh against the daily usage you totaled earlier. If your load is lower, you have some breathing room. If it’s higher, you may need more panels or a plan to trim usage. For a deeper look at real-world numbers, see this guide on kWh production from American-made panels.
Series, Parallel, and Series-Parallel in Plain English
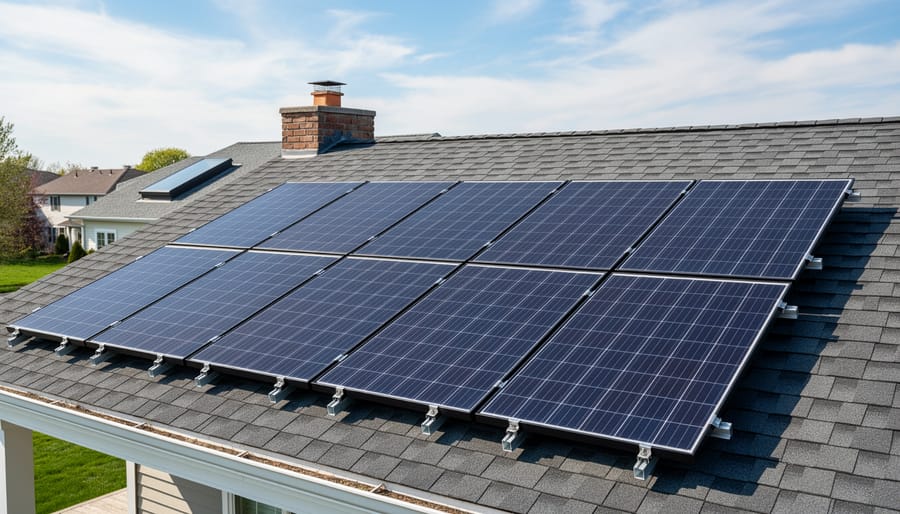
Why 4S2P Is a Popular Choice for 8 Panels
With eight panels, 4S2P tends to land in a sweet spot. Wiring four panels in series raises the voltage enough for most charge controllers and inverters to work efficiently, while running two of those strings in parallel doubles the current without pushing the voltage too high. A single 8S string can overshoot your equipment’s voltage ceiling, and 8P often means thick, costly wire carrying heavy current.
Before you commit to this layout, check your equipment’s label or datasheet for two numbers. First, the maximum input voltage. Add up the open-circuit voltage (Voc) of four panels and leave extra room for cold mornings, since voltage climbs as temperatures drop. Second, the maximum input current. Add the short-circuit current (Isc) of both strings together and confirm it stays under your controller or inverter’s limit.
If either number runs over, a different arrangement, like 2S4P, may fit better.
Tools and Materials You’ll Need Before You Wire Anything
Before you connect a single panel, gather everything in one place. Wiring goes faster and safer when you aren’t hunting for a crimper halfway through a string. Start with the panel label (the datasheet sticker on the back), which lists the voltage and current numbers you’ll rely on all day.
Here’s a checklist for an 8-panel, 4S2P build:
- Tools: a digital multimeter rated for DC voltage, an MC4 crimping tool, an MC4 spanner or disconnect tool, wire strippers, and insulated gloves with safety glasses.
- Electrical components: MC4 connectors that match your wire gauge, a combiner box or branch connectors for joining the two strings, and PV wire sized for your current and run length.
- Protection: inline fuses or breakers rated for DC, plus a DC disconnect so you can safely isolate the array.
- Hardware: mounting rails, clamps, and grounding lugs suited to your roof or ground mount.
- Documentation: the panel datasheets, your charge controller or inverter manual, and notes on local North Carolina permit requirements.
A quick word on sourcing. Choosing American-made panels and components has real benefits: consistent quality standards, easier warranty support, and a boost for local manufacturing. Whatever you buy, make sure every part matches your system’s electrical specs. Mismatched fuses or undersized wire are common trouble spots, and the datasheet numbers tell you exactly what to match.
If you’re curious how newer panel designs differ from older ones, our guide to the latest solar tech explains what’s changing. For wiring, though, always trust the label on the panels you actually own.
Safety Warnings and When to Stop and Call a Licensed Pro
Working with solar panels is very manageable when you respect a few basics. Here’s what to keep in mind before you touch a single wire.
First, panels make electricity any time light hits them, even on a cloudy day. There’s no off switch on the panel itself. Covering the front with an opaque tarp or cardboard while you work keeps the output close to zero.
Second, series strings add up fast. Four panels wired in series can easily push the string’s DC voltage into the 150-to-200-volt range, and cold mornings push it higher. Direct current doesn’t ease off the way household AC can, so treat those numbers with respect.
A few habits keep you on solid ground:
– Wear insulated gloves, safety glasses, and closed-toe shoes.
– Never connect or disconnect wiring while the system is under load. Switch off the breakers and disconnects first.
– Use only connectors rated for solar, and keep them dry and clean.
– Follow the National Electrical Code (NEC) and your local North Carolina permitting rules. If you plan to connect to the grid, your utility will also have its own interconnection requirements.
Stopping is part of doing the job well. Step away and call a pro if you’re unsure about your voltage numbers, if any connector looks cracked or melted, or if the work involves a roof or a connection to utility power. A quick consultation costs far less than a repair, and it keeps your project safe and inspection-ready.
Step-by-Step: Wiring 8 Panels in a 4S2P Configuration
Checking the Math: Voltage and Current for Your Array
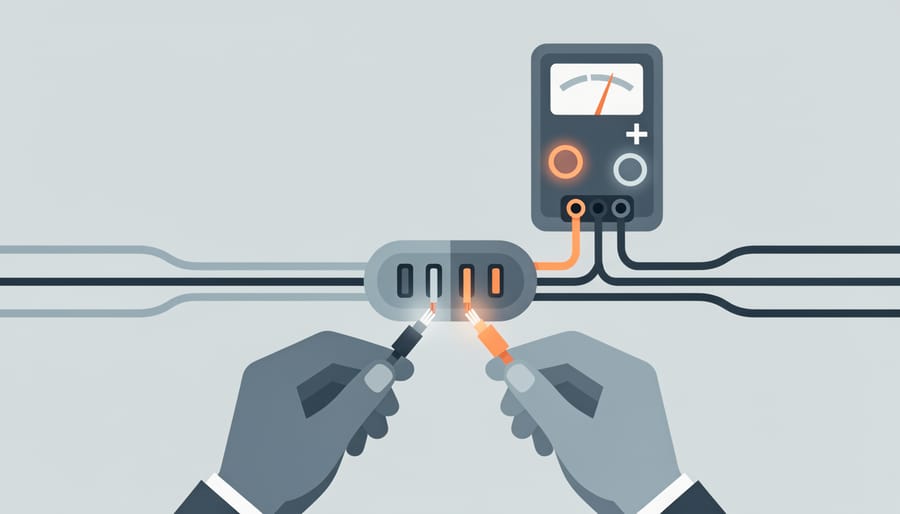
Here’s a worked example using sample values. Always read the label on your own panels, because real specs vary.
Say each panel lists Voc (open-circuit voltage, the highest reading with nothing connected) of 40 V, Vmp (voltage at maximum power) of 32 V, Imp (current at maximum power) of 9 A, and Isc (short-circuit current) of 9.6 A.
In a 4S2P layout, voltage adds along each string of four and current adds across the two strings. If you’ve never done it, our guide on how to wire 2 panels in series shows the same principle on a smaller scale.
– String Voc: 4 × 40 V = 160 V
– Operating voltage: 4 × 32 V = 128 V
– Operating current: 2 × 9 A = 18 A
– Short-circuit current: 2 × 9.6 A = 19.2 A
Cold weather matters because voltage rises as temperatures drop. Your panel datasheet lists a Voc temperature coefficient, often around -0.3% per °C. If a frosty North Carolina morning sits 30°C below the 25°C test condition, voltage climbs roughly 9%, so 160 V becomes about 174 V. That is the number to protect.
Compare these results with your controller or inverter:
– Cold-weather Voc must stay below its maximum input voltage.
– Operating voltage should fall inside its working range.
– Array current should stay under its maximum input current.
Verifying Your Setup and What to Do Next
Common Questions About Wiring 8 Solar Panels
Can I mix different panel types in one array?
It’s best not to. Panels with different wattage, voltage, or current ratings drag each other down, because a string performs at the level of its weakest panel. Use eight matching panels so each string behaves predictably.
What happens if one panel is shaded?
In a series string, shade on one panel can cut the output of the whole string. In a 4S2P layout, the second string keeps working, so you lose only part of your production rather than all of it.
Is series or parallel better?
Neither wins every time. Series raises voltage, which helps with longer wire runs, while parallel raises current. A 4S2P layout blends both, as long as the totals stay inside your controller or inverter limits.
What wire size and combiner box do I need?
Wire size depends on your array’s current, the run length, and local code, so confirm it against the National Electrical Code. With two parallel strings, a combiner box with fusing is a smart, tidy way to join them safely.
Wiring questions often come down to reading the panel label and the equipment manual carefully. If a number doesn’t match, pause and ask before you connect anything. Building that kind of confidence is why we care so much about solar education. Feel free to bring your own questions to a licensed professional, and we’re happy to help point you in the right direction.
Good solar planning starts with a simple question: how much power do you actually use? Once you’ve measured that, wiring eight panels in a 4S2P layout, two parallel strings of four panels each, gives you a flexible setup, as long as the total voltage and current stay within your charge controller or inverter limits. Always check those numbers against your equipment’s datasheet before you connect anything.
Safety matters just as much as the math. Panels make electricity whenever light hits them, so take your time, keep everything disconnected until your final checks, and have a licensed professional review your plan, especially for grid-tied work, permits, or rooftop installs.
Choosing American-made panels and components is a good way to support quality and local jobs, and it’s one more way to reduce carbon in your everyday life.
If you have questions or want a second set of eyes on your layout, Solar Installer Ninja is happy to help North Carolina neighbors anytime.
